Showing posts with label Walk in My Garden. Show all posts

Monday, March 19, 2012

FCCB Challenge Me Monday

Happy Monday!  The weekend was gorgeous and went by way too quickly.  Saturday we took a five hour drive to see my husband's great aunt and uncle.  We spent a few hours visiting with them and then drove five hours back home.  It was a good trip but made for a long day.  Today was spent resting but I could really use an extra day in the weekend.

This week at FCCB we are celebrating spring and want to see your projects with flowers (at least three).  The base of my card was cut at 5" x 6.5".  I embossed the green background paper with my Cuttlebug.  All of the flowers came from the cartridge Walk in my Garden and were cut at 2.5".  The cute little bee is a PKS Cottage Cutz die.  For the finishing touches, I added some twine, stickles, glossy accents, and doodling around the flowers.


Pin It


Items Used:
Walk in my Garden cartridge
Peachy Keen Stamps: CC-PK 4x6 - 002 Bugs
My Creative Time: This & That
Twine
Stickles
Cuttlebug
Glossy Accents
Gelly Roll White Pen

Stop on over to FCCB to see what the rest of the fabulous DT has created.  I promise you won't be disappointed!  Have a wonderful day!


Wednesday, August 10, 2011

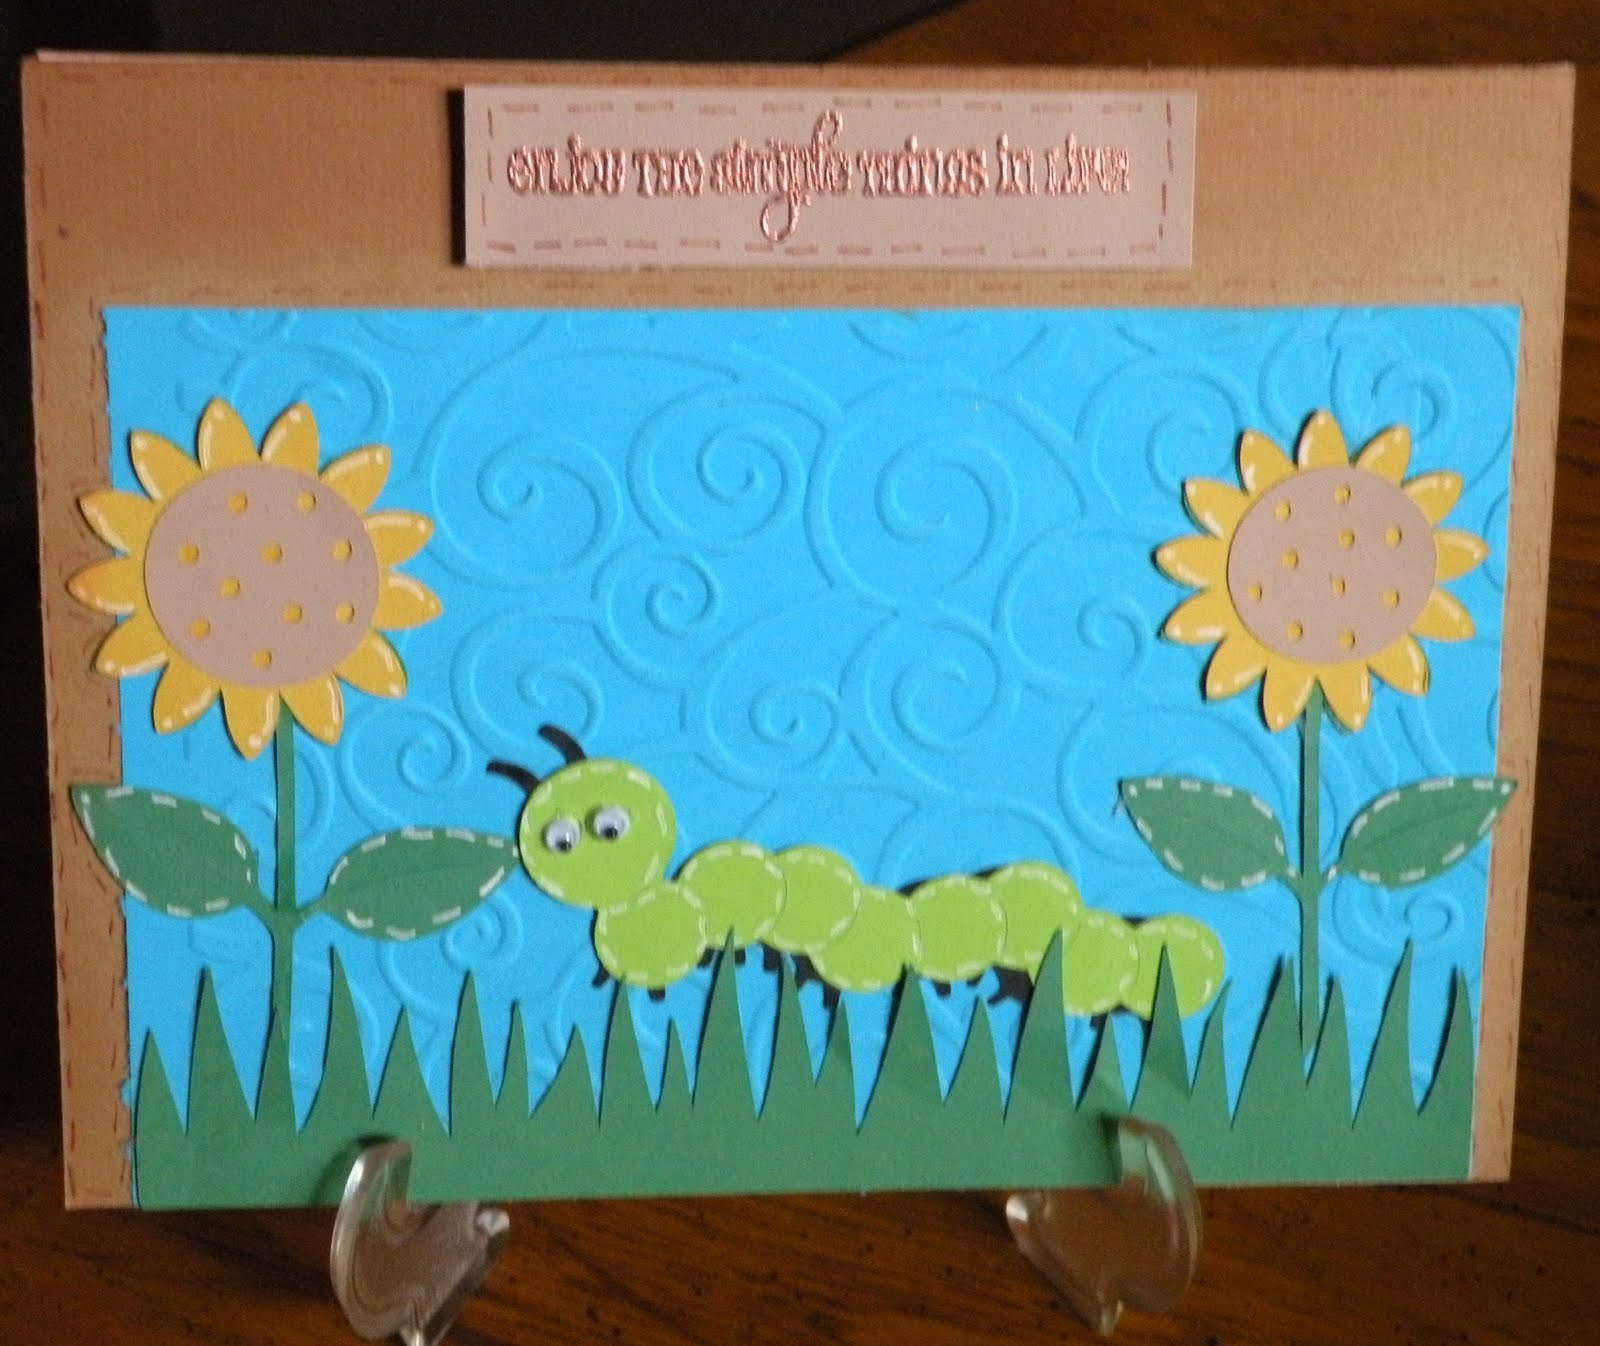
Enjoy the Simple Things In LIfe

Hello again!  I have somehow gotten behind in my posting and have more cards to share than days are left in the week.  So, today you get two posts.  This is the card I made for Fantabulous Cricut's Challenge Me Monday #72.  All of the cuts were taken from Walk In My Garden.  I added distress ink to the brown background and the blue background was embossed with my Cuttlebug.    As for the sentiment, it was heat embossed and came from My Creative Time's This & That set.  


Fantabulous Cricut - Challenge Me Monday #72

I love to heat emboss but have always hated getting the extra embossing powder off of the paper.  As I was browsing Sarah's blog, Pink Cricut, she shared an awesome trick and I am passing it on.  She uses an Anti-Static Bag, which I had never heard of until I saw her post. The above link has a tutorial but essentially it is a bag that you rub on your paper and the embossing powder will only stick to the ink.  I bought one at Michael's over the weekend and was amazed!  It works so well!  Just thought I would share because it makes life so much easier when heat embossing.  Enjoy!

Tuesday, August 9, 2011

My First Home Decor Project

Happy Tuesday everyone!  I hope you had a fabulous weekend, mine was good but super busy.  I almost needed another day to just recuperate.  My sister is getting married this fall and her bridal shower is Sunday.  I wanted to give her and her fiance something a little more personal than a typical shower gift.  I took some of their engagement photos and made the following project:


 I am so happy with the way it turned out.  Here is what I did.  I used tea dye distress ink to darken the paper a bit before I put it on my mat.  I went through the cartridges I had looking for flower cuts that would be easily layered to create a 3-D effect.  The images I used came from Calligraphy, Forever Young, Gypsy Wanderings, and Walk in My Garden.  Once I found the flowers, I cut images starting at 2" and decreasing in 0.25 increments until I reached 0.5".  Here are my cut outs:


 I then proceeded to layer the flowers so it looked like this:


I found that I had so many cuts, I did not need to add more dimension to the flowers so I used glue and not pop dots to hold them together. After that, I proceeded to put things where I wanted and then inserted the page into the frame.  Here are a few close ups.


I hope you enjoyed my first home decor project.  Have a good week!